
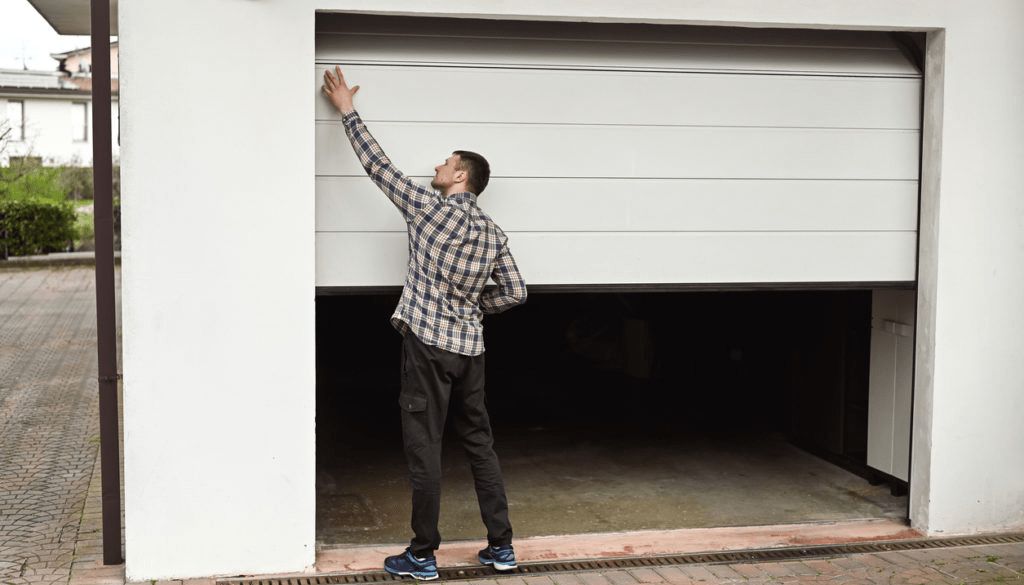
Your garage door is stuck and won’t budge. Before you panic, consider one of the most common culprits Gold Coast homeowners overlook: the safety sensors. These small devices sit near the base of your door and act as the last line of defence against accidents — but when they play up, they can also be the reason your door refuses to move at all.
This guide walks you through how garage door sensors work, how to recognise when they’re failing, and what you can do right now to troubleshoot the problem — including when it’s time to call in the professionals.
How Garage Door Sensors Work
Modern automatic garage doors are fitted with safety sensors that monitor the area beneath the door as it moves. Their purpose is straightforward: prevent the door from crushing anything — or anyone — in its path. When sensors detect an obstruction, they trigger the opener to stop or reverse instantly.
On the Gold Coast, where Queensland’s humidity, storms and wildlife (think curious spiders and geckos) can affect equipment performance, sensors are under constant environmental stress. Understanding how they function makes it much easier to diagnose problems when they arise.
Photoelectric Safety Sensors
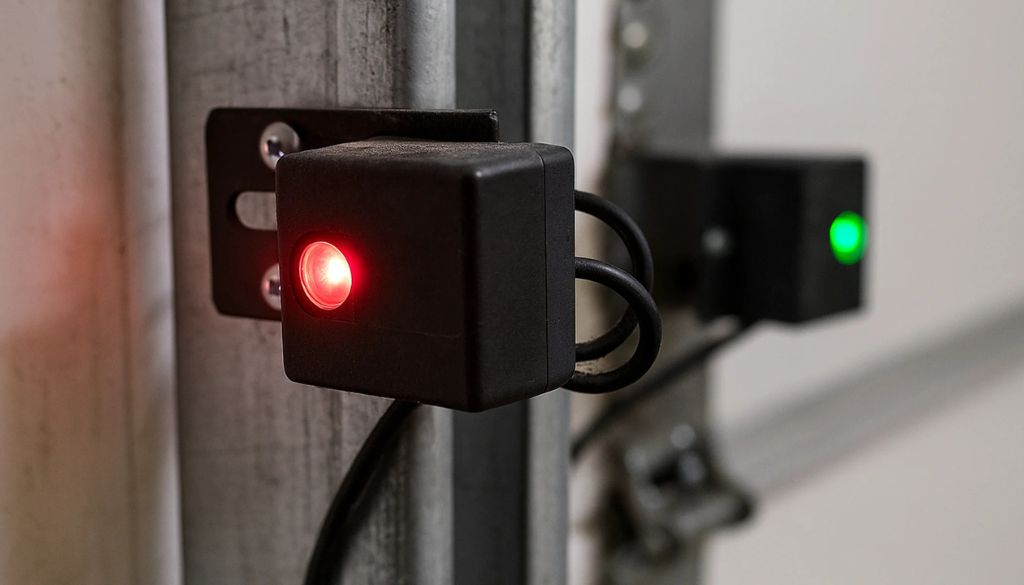
The most common type found in residential garage doors is the photoelectric sensor, also called a ‘photo-eye.’ Two small sensor units are mounted on brackets on either side of the door frame, typically 100–150 mm above the ground. One unit emits a continuous infrared beam; the other receives it. As long as the beam passes unbroken from one side to the other, the door operates normally. If anything interrupts that beam — a toy, a pet, a fallen leaf, or even a misaligned bracket — the system interprets it as a hazard and halts the door mid-travel or reverses it.
Other Types of Garage Door Sensors
While photoelectric sensors are the most common, newer and smarter systems incorporate additional sensor technology. Pressure sensors built into the door’s bottom edge detect resistance on contact, triggering an immediate reversal. Smart garage door openers — increasingly popular across newer Gold Coast homes — may include monitoring sensors that track open/close status via an app, alerting you remotely if the door has been left open. Each of these systems relies on accurate, unobstructed sensing to keep your door functioning safely.
Signs Your Garage Door Sensor Might Be Bad
Before diving into hands-on troubleshooting, it helps to recognise the symptoms that point specifically to sensor problems rather than mechanical issues like a broken spring or damaged cable. Sensor faults typically produce a consistent, recognisable pattern of behaviour.
Door Won’t Close or Open Properly
If your garage door refuses to move when you press the remote or starts closing and immediately reverses, the safety sensor is the most likely suspect. The opener’s logic circuit detects that the sensor circuit is broken — indicating a possible obstruction — and refuses to proceed. This is a deliberate safety response, not a malfunction.
Blinking or No Sensor Lights
Each sensor has a small LED indicator light. Under normal operation, both LEDs glow steadily: one typically glows green (receiver) and one amber (transmitter). If either light is blinking, off entirely, or flickering, this is a direct signal from the system that something is wrong. A blinking light almost always points to misalignment — the beam isn’t reaching the receiver cleanly.
Door Only Works with the Wall Button
Here’s a telling sign many homeowners notice but misread: the remote control does nothing, but holding down the wall-mounted button allows the door to close slowly. This is actually the opener working in ‘manual override’ mode, where the sensor circuit is bypassed. It confirms the sensors are the problem, not the motor, drive system or remote.
Garage Door Sensor Problem: Symptom vs. Cause vs. Fix
| Symptom | Likely Cause | Recommended Fix |
|---|---|---|
| Door won’t move at all | Beam fully blocked or sensor offline | Check alignment, clean lenses |
| Door reverses immediately | Sensor beam interrupted at ground level | Re-align sensors; remove obstruction |
| Blinking LED on sensor | Sensors misaligned | Adjust bracket until light is solid |
| Works from wall button only | Remote overridden by sensor fault | Hold wall button or call for service |
| Intermittent failure | Loose wiring or electrical interference | Inspect terminals; call a technician |
Common Garage Door Sensor Problems
Most sensor failures on the Gold Coast come down to a handful of recurring issues. The good news is that several of these are straightforward to fix yourself — no tools required.
Misaligned Sensors
This is the single most common cause of sensor failure. The brackets holding the sensors can be nudged out of position by a knock from a vehicle, a vigorous door slam, children playing in the garage, or even ground movement over time. Even a few millimetres of misalignment is enough to break the infrared beam. You can usually identify misalignment because one sensor light will be blinking or unlit, while the other glows steadily.
Dirty or Blocked Sensor Lenses
The infrared beam passes through small plastic lenses on each sensor unit. If those lenses become coated with dust, dirt, cobwebs, or moisture — all common in Gold Coast conditions — the beam is weakened or scattered, causing intermittent or total sensor failure. In humid coastal environments, condensation can also form on lenses overnight, causing mysterious morning failures that seem to resolve themselves later in the day.
Wiring Issues
Sensor units are connected to the opener motor by thin wiring that runs along the door frame. Over time, this wiring can be pinched by the door mechanism, chewed by rodents, corroded by moisture, or simply pull loose from the terminal connections on the opener unit. Damaged wiring can cause symptoms that mimic sensor malfunction but require a different repair approach.
Electrical Interference
Less common but worth knowing: in some cases, nearby electrical equipment, LED lighting, fluorescent tubes, or even bright sunlight shining directly onto a sensor receiver can disrupt the infrared signal. If your sensor problems seem to occur only at certain times of day or after installing new lighting, interference may be worth investigating.
How to Test If Your Garage Door Sensor Is Faulty
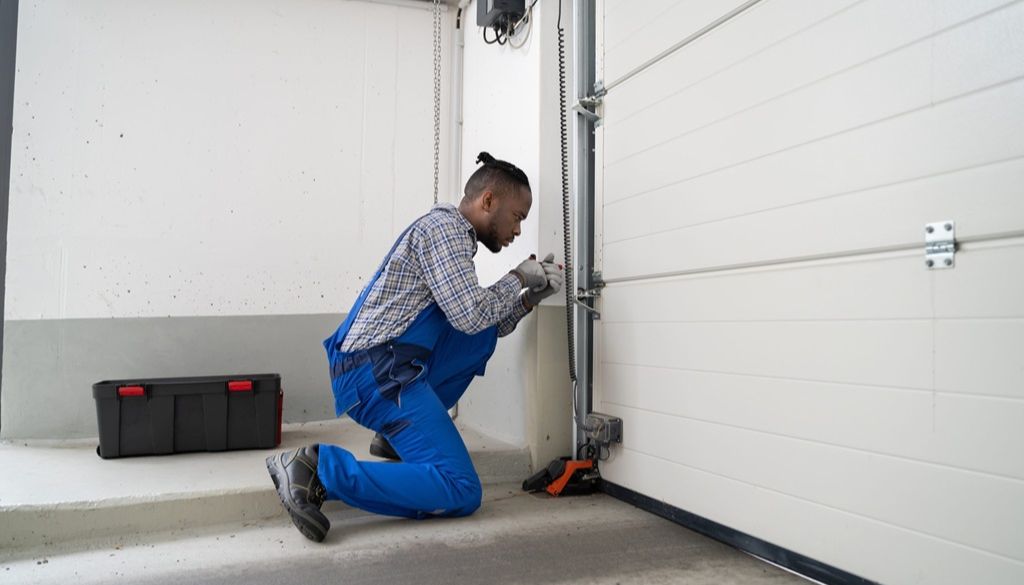
Check Sensor Alignment
Stand inside your garage and look at both sensor units. The LED lights should be glowing solidly. If one is blinking or off, that sensor is out of alignment. Loosen the wing nut or mounting bracket slightly, gently rotate the sensor until the light becomes solid, then retighten. Both sensors must face each other directly across the door opening for the beam to connect cleanly. For a complete walkthrough of common problems, visit our garage door troubleshooting guide.
Clean the Sensor Lenses
Use a clean, dry microfibre cloth to gently wipe the lens on each sensor unit. Don’t use water, cleaning sprays or solvents — these can leave residue or damage the plastic housing. If the lens has visible spider webs or heavy build-up, use a dry cotton bud to clear the debris before wiping. In most cases, cleaning takes under a minute and can resolve sensor issues instantly.
Test the Sensor Beam
With the door in the open position, slowly wave a broom handle or cardboard box through the sensor beam path. The opener should immediately respond — its lights may flash, or it will refuse to proceed with the close command. If the opener shows no response at all to an object in the beam path, the sensor circuit is not functioning and requires professional attention. This is an important safety check, since a sensor that doesn’t detect obstructions has lost its primary protective function.
Inspect Sensor Wiring
Trace the wiring from each sensor unit back to the opener motor. Look for any sections where the wire is pinched, kinked, frayed, or disconnected at the terminal block. Loose wiring connections at the opener terminal are particularly common after vibration from repeated door cycles. If you find obvious damage, do not attempt to splice or repair wiring yourself — call a qualified technician to ensure the repair meets Australian safety standards.
Quick Sensor Troubleshooting Checklist
* Look at sensor LED lights — are they solid or blinking?
* Clear any objects within 30 cm of the sensor path
* Wipe sensor lenses with a dry, lint-free cloth
* Check that both sensor brackets point directly at each other
* Inspect wiring from sensors to the opener for visible damage
* Perform the ‘wave test’ — pass a broom handle through the beam
* If all steps fail, call A1 Garage Doors Gold Coast: (07) 5515 0277
Temporary Workarounds for Sensor Problems
Use the Wall Console Override
If you need to close your garage door urgently while waiting for repairs, you can hold down the wall-mounted button continuously until the door is fully closed. This bypasses the sensor circuit and forces the door to move. Important: only use this override when you have a clear, unobstructed view of the door’s entire travel path. Never use this method if children or pets are present. This is a temporary measure only — a door operating without functioning sensors is a safety hazard and should be repaired promptly.
Switch to Manual Operation
Your garage door opener has an emergency release cord — usually a red rope hanging from the trolley mechanism. Pulling this cord disconnects the door from the opener drive, allowing you to lift or lower the door manually. This is useful if you need to move a vehicle quickly, but remember: a manually operated door has no automatic safety features. Lift carefully and ensure the door is balanced before letting go.
When to Replace or Repair Garage Door Sensors
Persistent Sensor Failure
If you’ve cleaned the lenses, re-aligned the brackets, and confirmed the wiring looks intact but the sensors still won’t behave, the sensor units themselves may have failed internally. Sensor units are relatively inexpensive to replace, and a professional technician can swap them out in under an hour. Replacement sensors should be matched to your opener brand for compatibility.
Damaged Wiring or Hardware
Visibly damaged wiring, corroded brackets, or physically cracked sensor housings all indicate the need for replacement rather than repair. Attempting to patch damaged electrical components in a safety-critical system is not recommended. If your opener is more than 10–15 years old, it may be worth considering a full system upgrade — our garage door opener comparison can help you find the right option for your home.
Professional Inspection
For anything involving wiring, electrical components, or sensors that continue to fail after basic troubleshooting, always engage a qualified garage door technician. Incorrect repairs can create serious injury risks. A professional inspection will also identify any underlying opener or structural issues that may have caused the sensor problem in the first place. If your door has stopped working entirely, our emergency garage door repair service is available when you need fast help.
Preventing Garage Door Sensor Problems
Regular Cleaning
Wipe down sensor lenses every two to three months, or more frequently during Queensland’s humid summer months. Pay extra attention after storms, which can splash mud and debris onto low-mounted sensors. A quick wipe takes 60 seconds and can prevent hours of troubleshooting.
Checking Alignment Periodically
Glance at your sensor LED lights each time you use your garage door. Both should be glowing solidly. If you notice a blinking light, take a moment to gently adjust the affected bracket before it becomes a full failure. Catching misalignment early is far easier than diagnosing a door that’s completely stopped working.
Inspecting Wiring
Once or twice a year, trace the sensor wiring along the door frame and check for signs of wear, pest damage, or loose connections at the opener terminal. Gold Coast’s warm climate makes wiring insulation vulnerable to UV degradation over time, particularly in garages with poor ventilation. Early detection of wiring wear prevents sudden failures.
Frequently Asked Questions
Why won’t my garage door open even though the sensor lights are on?
A steady light means the sensors are aligned and the beam is intact — but the problem may lie elsewhere. Check for wiring faults between the sensor and opener, or consider that the opener itself may have a fault. If the door was recently replaced, also check that sensor height complies with Australian standard requirements.
What does a blinking garage door sensor light mean?
A blinking LED indicates that the beam is not connecting cleanly between the two sensor units. This almost always means the sensors are misaligned. Gently adjust the bracket on the blinking sensor until the light becomes solid.
Can I bypass garage door sensors temporarily?
Yes — by holding down the wall button continuously, most openers will close the door with the sensor circuit bypassed. This should only be used when the path is completely clear and as a short-term measure until sensors are repaired.
How much does it cost to replace garage door sensors in Australia?
Sensor unit replacement typically costs between $80 and $200 including labour, depending on the opener brand and sensor type. Call A1 Garage Doors Gold Coast on (07) 5515 0277 for a no-obligation quote.
How do I align garage door sensors?
Loosen the bracket wing nut, gently rotate or reposition the sensor until the LED glows solid, then retighten the bracket. Both sensors must face each other directly across the door opening.
Still Can’t Get Your Garage Door Opening?
Don’t risk operating a door with a faulty safety system. A1 Garage Doors Gold Coast has been serving homeowners across the Gold Coast and Brisbane since 2020, earning a 4.9/5 rating from local families.
📞 Call us now: (07) 5515 0277 📍 1 Waterford Ct, Bundall QLD 4217 🌐 goldcoastgaragedoorrepair.com.au