How to Repair Garage Door Cable
Is your garage door struggling to open or close smoothly? Often, a broken garage door cable is the cause. Learning how to garage door repair cable can save you time and money. Our step-by-step guide makes the fix simple. If your garage door is stuck in the closed position and you cannot lift it, our detailed tutorial on cable replacement with door in closed position explains how to safely perform repairs without raising the door.
Key Takeaways
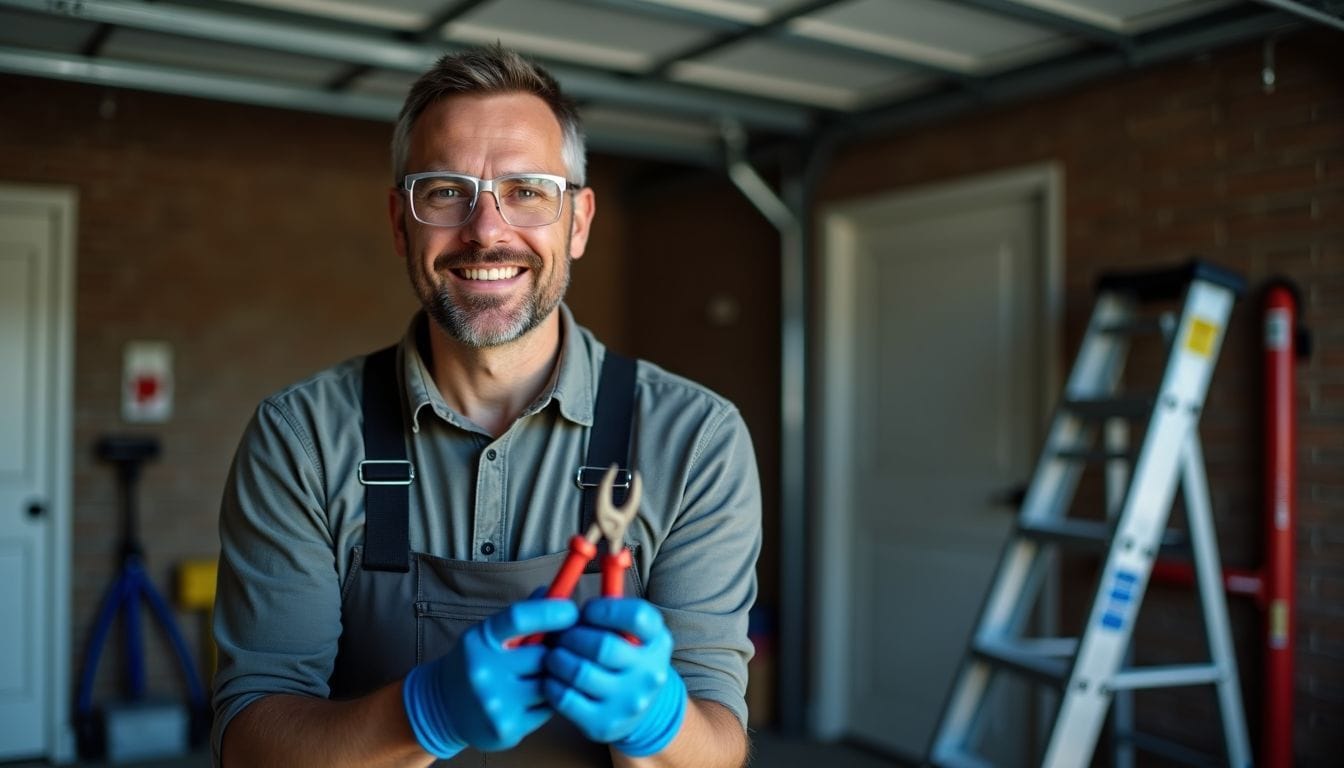
- Prioritise Safety: Always turn off the garage door opener and wear protective gloves and safety glasses before starting repairs. Secure the door with locking pliers or clamps to prevent movement.
- Gather the Right Tools: Ensure you have vice grips, locking pliers, replacement cables, winding bars, wrenches, sockets, a ratchet, and a sturdy step ladder. These tooels are essential for a safe and effective cable replacement.
- Follow Step-by-Step Instructions: Unplug the garage door opener, release the spring tension carefully, remove the old cables and brackets, install the new cables correctly, and adjust the spring tension to ensure smooth door operation.
- Regular Maintenance is Key: Inspect cables and springs for damage, clean and lubricate rollers and tracks, test door balance, and check all hardware regularly. Scheduling professional maintenance annually can help identify and fix issues early.
- Consider Professional Help: Services like Fix Garage Doors CA in areas such as Austin, TX, Lakeway City Park, and Manor, TX, offer expert cable replacement with warranties, ensuring your garage door functions reliably and lasts longer.
Safety Precautions

After introducing the basics of repairing garage door cables, prioritise safety to prevent accidents. Turn off the garage door opener to eliminate any electrical hazards. Wear protective gloves and safety glasses to guard against sharp edges and flying debris.
Secure the door in the open position using locking pliers or clamps to ensure it doesn’t move during the repair. Using the right tools, such as winding bars and a sturdy ladder, is crucial for handling the heavy springs and cables safely.
Properly releasing spring tension is vital to avoid injuries. Always follow the manufacturer’s guidelines when working with torsion or extension springs. Inspect the cables for any signs of fraying or corrosion before removal.
“Safety first ensures a successful DIY garage door repair.” Maintaining a safe workspace and being cautious with each step helps you replace a garage door cable effectively and efficiently.
Safety first ensures a successful DIY garage door repair.
Tools Required for Cable Replacement
Replacing a garage door cable needs the right tools for safety and success. Gather these tools before starting your DIY project.
- Vice Grips and Locking Pliers: Secure the cables and keep parts from moving during removal and installation. They ensure a firm hold for precise work.
- Replacement Cables and Winding Bars: Use new cables to replace broken ones. Winding bars safely adjust the torsion spring tension, crucial for proper garage door function.
- Wrenches, Sockets, and Ratchet: These tools loosen and tighten bolts and nuts on the garage door system. They provide the necessary leverage for assembling and disassembling parts.
- Step Ladder: A strong ladder helps you reach the top of the garage door where drums and springs are located. It ensures you can safely access all areas needed for the repair.
Having these tools ensures you can efficiently replace your garage door cable and maintain your garage door system.
Step-by-Step Guide to Repair Garage Door Cable
Follow our step-by-step guide to repair your garage door cable safely using the right tools – keep reading to learn how.
Unplugging and Disengaging the Garage Door Opener
Unplug the garage door opener from the power source to ensure safety. This step prevents any accidental activation while you work on the cables. Secure the door in the open position using clamps or locking pliers.
Disengage the opener by pulling the emergency release handle. This action allows you to operate the door manually during the repair.
Safety first ensures a smooth and trouble-free repair process.
Releasing Spring Tension Safely
Use winding bars to carefully release the tension on the garage door spring. Place the bars into the winding cone and turn them slowly to unwind the spring. Clamp the garage door to the track to keep it stable and prevent it from moving.
This step is crucial for ensuring the cable replacement is safe and that the garage door operates smoothly. Properly releasing the spring tension helps maintain the right cable tension, which is essential for the door to lift and lower evenly.
Removing Old Cables and Brackets
After releasing the spring tension, proceed to remove the old cables and brackets. Start by loosening the set screws on the cable drum using the correct tools. Carefully unwind the broken cable from the drum and detach it from the pulleys.
Ensure you take note of how the cables are routed to make installing the new ones easier. Remove the brackets that hold the cables in place by unscrewing them with a suitable wrench.
Discard the damaged cables safely to prevent any accidents.
Next, prepare the garage door for installing the new cables. Inspect the pulleys and other hardware for any signs of wear or damage. If the cable drum shows signs of excessive wear, consider replacing it to ensure smooth operation.
Clean the areas where the old cables were attached to provide a solid foundation for the new cables. Proper removal of the old cables and brackets is essential to ensure your garage door functions reliably and safely after the replacement.
Installing New Cables Correctly
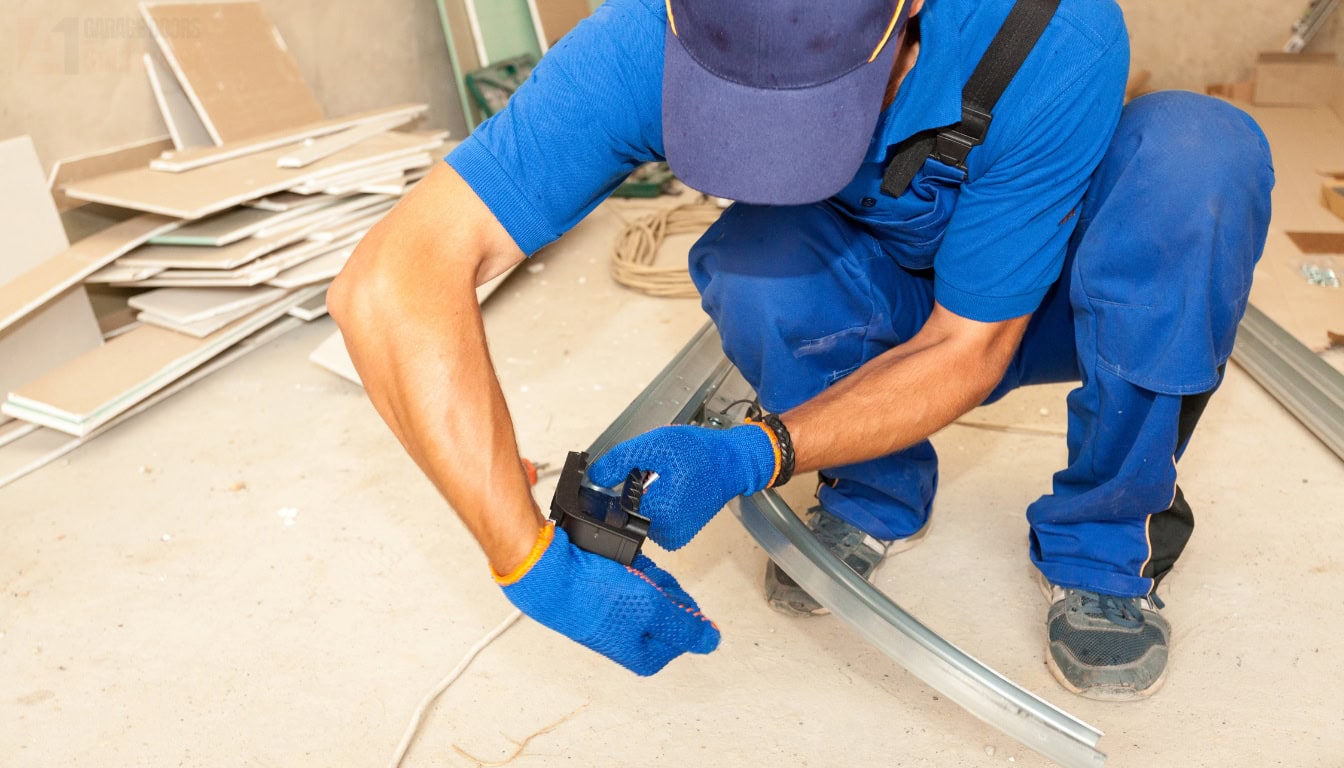
After removing the old cables and brackets, position the new cable on the drum. Ensure it aligns properly with the pulleys to allow smooth movement. Use pliers to securely attach one end of the cable to the door’s bottom bracket.
Thread the cable through each pulley, maintaining even tension throughout. Secure the other end to the drum, making sure it sits firmly in place. Check that the cables are free from kinks and properly routed to prevent future issues.
Installing the new cable correctly ensures your garage door operates smoothly and safely.
Increasing Tension on the Springs
After installing new cables correctly, increase tension on the springs. Use a screwdriver to loosen the set screws on the spring system. Wind the cable onto the drum carefully to secure it.
Apply gradual pressure to adjust the tension as needed. Test the garage door operation after each adjustment to ensure it moves smoothly. If the door does not open evenly, further adjust the tension.
Properly tensioned springs ensure that your garage door operates safely and effectively.
Regular Check-ups and Maintenance for Garage Doors
Regular check-ups and maintenance keep your garage doors running smoothly. These tasks help spot problems early and ensure safety.
- Inspect Cables and Springs
- Look for rust or frayed wires on the cables.
- Check that springs are tightly wound and free from damage.
- Ensure cables are securely attached to the door and brackets.
- Examine Rollers and Tracks
- Clean tracks to remove dirt and debris that can hinder movement.
- Lubricate rollers with a silicone-based lubricant for smooth operation.
- Replace any rollers that show signs of wear or damage.
- Test Door Balance
- Disconnect the garage door opener and lift the door manually.
- The door should stay in place when lifted halfway.
- If it moves up or down, adjust the spring tension accordingly.
- Check Door Hardware
- Tighten all screws, bolts, and brackets to prevent loose parts.
- Inspect hinges for any signs of bending or breaking.
- Replace damaged hardware to maintain door stability.
- Operate the Garage Door Opener
- Use the opener to open and close the door several times.
- Listen for unusual noises that could indicate mechanical issues.
- Ensure the opener reverses correctly when encountering an obstacle.
- Look for Signs of Wear
- Regularly check for cracked panels or dents in the door.
- Replace damaged sections to avoid further deterioration.
- Address any cosmetic damage to maintain the door’s appearance.
- Schedule Professional Maintenance
- Have a professional inspect your garage door at least once a year.
- They can perform detailed checks and repairs you might miss.
- Professional maintenance extends the life of your garage doors.
Regular maintenance is essential for the longevity and reliability of your garage doors. Following these steps helps prevent issues and keeps your door safe and functional.
Importance of Regular Garage Door Maintenance
Regular maintenance keeps your garage door safe and runs smoothly. Cables are essential for the door’s movement, reducing friction and preventing wear. Inspecting garage door cables regularly helps identify broken cables early, making cable repair or replacement easier and more affordable.
Fix Garage Doors CA offers expert services to replace garage door cables efficiently. Serving Austin, TX, Lakeway City Park, and Manor, TX, their skilled personnel ensure your door operates reliably.
With a warranty on their work, maintaining your garage door with professionals extends its lifespan and guarantees consistent functionality. If your cables failed because an aging motor was putting excessive strain on the system, understanding motor replacement costs on the Gold Coast helps you address the root cause rather than just treating symptoms.
Conclusion
Repairing your garage door cable yourself saves money and keeps your door working smoothly. Use the right tools and follow safety steps carefully. Maintain your garage door regularly to prevent future issues.
A well-maintained door operates reliably and lasts longer. Take charge and enjoy the benefits of a properly functioning garage door.
FAQs
1. How do I know if my garage door cable is broken?
Several signs indicate that a garage door cable is broken. The door may not open or close smoothly, or it might move unevenly. You might hear a loud noise when operating the door. Additionally, if the cable is visibly damaged or frayed at the bottom of the door or near the drum at the top, it’s best to replace the cable to prevent further issues.
2. What tools are needed for garage door cable replacement?
To replace your garage door cable, you need the right tools on hand. These include spanners, pliers, a socket set, and mounting hardware. Having safety cables and a reliable ladder is also essential. Using the proper tools ensures you can work on your garage door safely and efficiently, following the guide to garage door cable replacement step by step.
3. Is it best to fix a garage door cable myself or hire a professional?
While you can fix a garage door cable yourself as a DIY project, it’s best to replace the cable if you are unsure. Working with garage door cables involves tension and can be dangerous without the right knowledge. Watching YouTube tutorials can help you learn how to fix and replace cables, but having human oversight or consulting a professional ensures the garage door is safe and functions correctly.
4. What are the steps to replace a garage door cable safely?
To fix a garage door cable, first, remove the damaged cable from the door. Lower the door evenly by pulling it down safely. Next, install the new cable by attaching it to the drum at the top and securing it at the bottom with a pin. Reattach the garage door, ensuring the cables work properly and there is no stress on them. Following these steps helps prevent the door from not opening and maintains the reliability of your garage door system.
5. What is the difference between torsion cables and extension spring cables?
Torsion cables are mounted horizontally above the garage door and use springs to lift the door by twisting the cables. Extension spring cables, on the other hand, run parallel to the door and extend as the door closes. Understanding garage door cables involves knowing these types, as the replacement process varies. It’s best to identify which type you have before attempting to replace your cable.
6. How can I prevent my garage door cables from breaking in the future?
Regular maintenance can prevent the door from moving unevenly and reduce stress on the cables. Ensure the cables are properly lubricated and free from debris. Check the corners and top of the door for signs of wear. By learning how to fix and maintain your garage door cables, you can extend their lifespan and avoid frequent replacements, keeping your garage door opening smoothly.
Restore Your Garage Door’s Functionality
Having trouble with your garage door? Call Reece at (07) 5515 0277 for expert repairs. Visit us today and restore your garage door’s functionality!


