
Why Is My Garage Door Sensor Yellow?
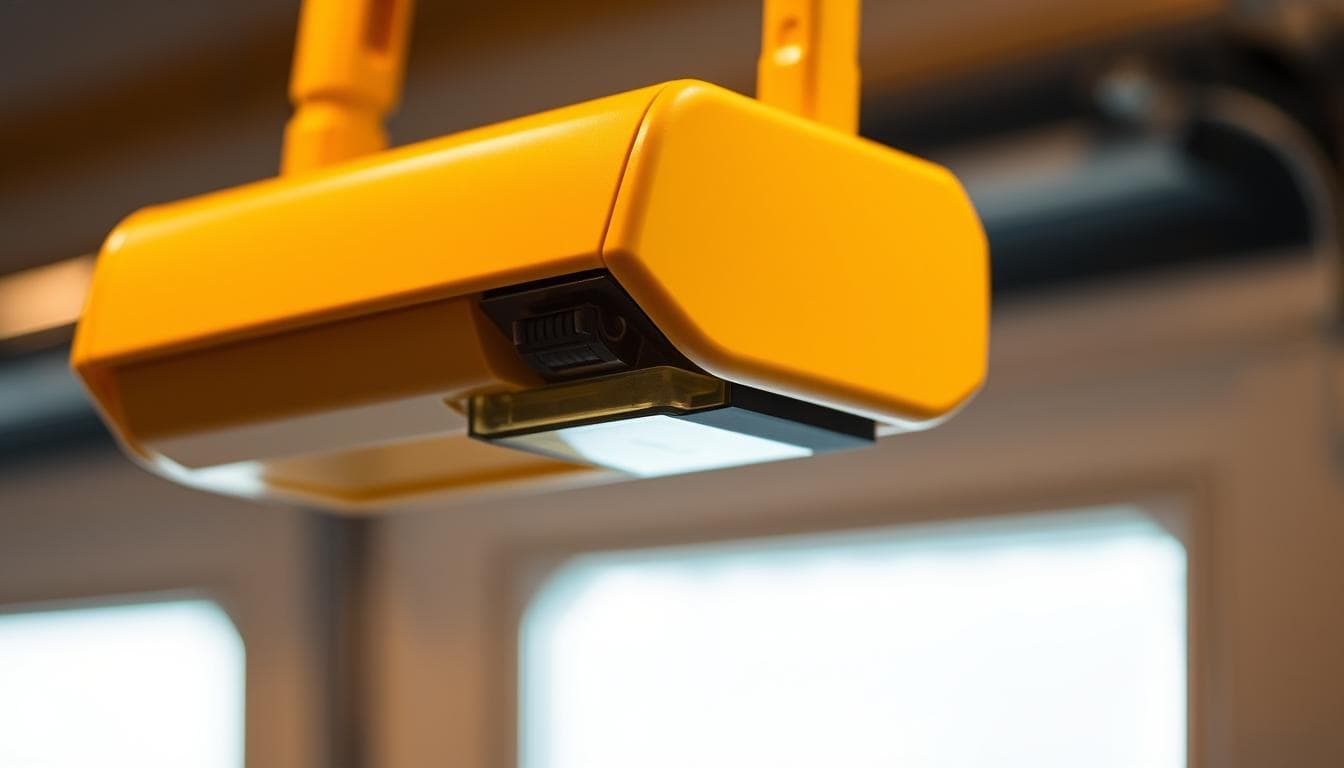
That glowing amber light near your vehicle entryway? It’s more than just decoration. This small beacon plays a critical role in household safety, acting as a silent protector for your family and belongings. A properly functioning garage door opener relies on this light garage door sensor to ensure safety.
Modern security systems use infrared beams between two units to detect obstacles. When aligned correctly, the sending unit shows a steady yellow glow while its partner displays green. This colour-coding helps homeowners quickly verify their garage door system’s status during routine checks.
But what if the yellow light garage flickers or the entry mechanism stops working? These changes often signal alignment issues or obstructions. Dust accumulation, spider webs, or accidental bumps can disrupt the invisible safety beam within minutes, leading to potential problems. Regular maintenance becomes crucial, especially with popular brands like LiftMaster or Chamberlain, to prevent damage to your door system.
For those unexpected moments when troubleshooting feels overwhelming, our guide to interpreting yellow light signals offers practical solutions. Discover the steps to maintain optimal performance without professional help, saving both time and money.
Key Takeaways
* Steady amber glow confirms proper transmitter operation
* Green light on paired unit indicates successful beam alignment
* Flickering often suggests obstructions or misalignment
* Regular cleaning prevents dust-related sensor failures
* Immediate attention needed if entry mechanism malfunctions
Understanding Garage Door Sensor Functionality
Modern home security relies on clever tech working behind the scenes. Those unassuming boxes near your floor hold life-saving potential through precise teamwork between components, ensuring your garage door opener operates smoothly and safely.
Light-Based Safety Networks
Infrared technology forms the backbone of obstruction detection in your garage door system. Two units create an unseen beam across the entry path – one emits light, the other catches it. When connected, this pair acts like digital sentries guarding against accidents and potential damage.
Ever seen a 200kg garage door halt mid-close? That’s the beam reacting instantly to any issue. Leaves, toys, or pets breaking the connection trigger an automatic reversal. This failsafe has prevented countless crushed bikes and curious paws nationwide.
Teamwork Makes Safety Work
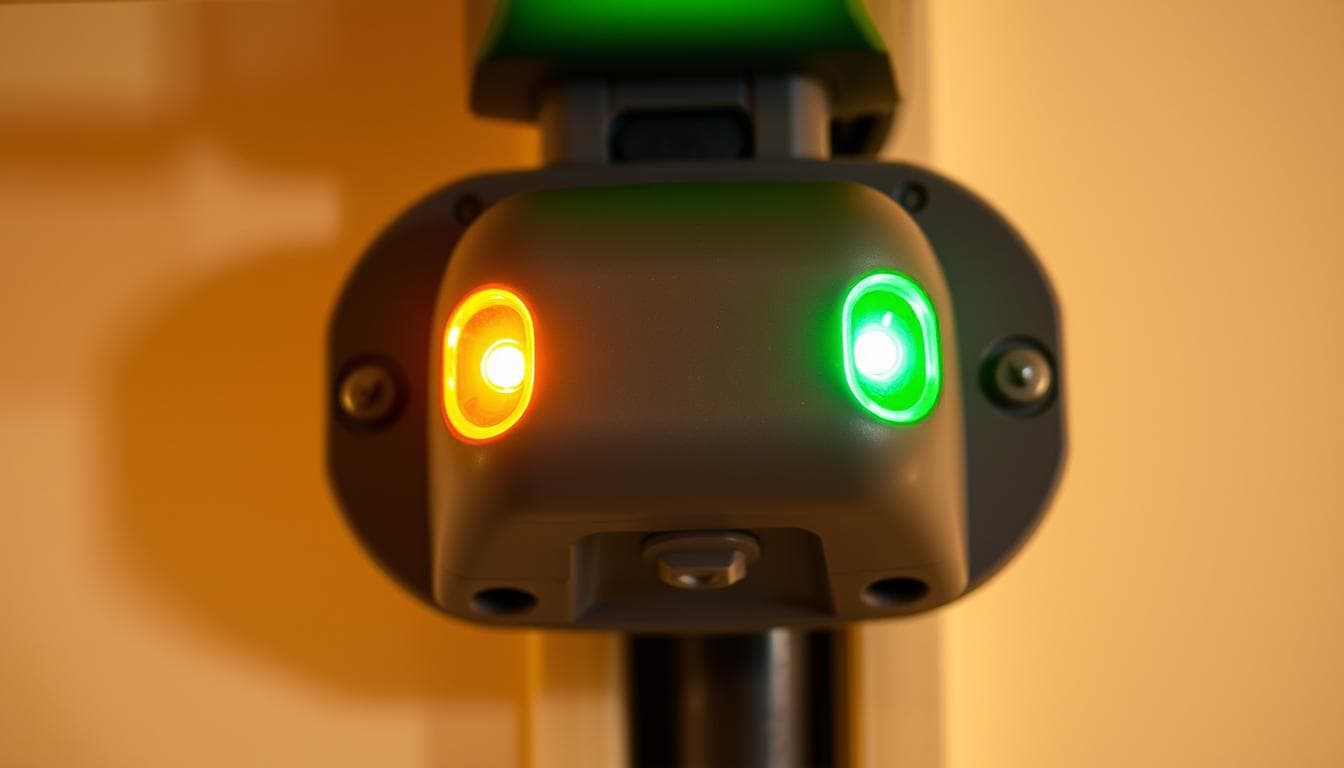
The sending unit (usually amber-lit) constantly transmits signals. Its green-lit partner confirms receipt. Together, they form a protective curtain that outsmarts potential problems and disasters.
| Component | Role | Indicator | Function |
|---|---|---|---|
| Transmitting Sensor | Beam creator | Steady amber | Sends infrared signals |
| Receiving Sensor | Beam detector | Solid green | Confirms connection |
Dust or misalignment breaks this crucial link. Regular cleaning maintains peak performance. Remember – a well-maintained garage door system could one day save your car bumper or much worse!
What Does a Yellow Light Mean on Garage Door Sensors?
Your garage’s silent guardian communicates through coloured signals—here’s how to listen. Those glowing dots near the floor aren’t random decorations. They form a coded language that reveals your garage door system’s health and readiness.
Interpreting Indicator Lights
A steady amber glow usually means good news. It shows the transmitting unit has power and sends infrared beams properly. When paired with a green companion light across the doorway, your safety network is fully operational.
Popular Australian brands like LiftMaster and Chamberlain follow this colour pattern. But others play by different rules. Ever noticed red lights on a neighbour’s setup? Genie systems often use crimson for normal operation, while Marantec models might flash blue during alignment.
| Brand | Transmitter Light | Receiver Light | Normal Status |
|---|---|---|---|
| LiftMaster | Yellow | Green | Steady |
| Genie | Red | Red | Solid |
| Marantec | Yellow | Blue | Brief Flashes |
Watch for changes in your system’s behaviour. A flickering amber dot or sudden dimness often means trouble. Dust buildup, spider webs, or loose wiring could break the safety beam. Always check both units—if one light disappears completely, your family’s protection might be compromised. This could indicate a problem with the door sensors or an issue with the infrared beam.
Keep your manual handy. Manufacturers update indicator patterns between models, and what worked for your old system might not apply now. When in doubt, compare your lights to the manufacturer’s guide—it’s quicker than guessing and safer than ignoring potential issues. Understanding these signals can prevent door closing mishaps.
Why Is My Garage Door Sensor Yellow?
That steady glow between your garage walls holds important clues. When safety systems act up, understanding the root causes helps restore protection quickly. Let’s explore what might disrupt your security beam and how to spot early warnings. Certain types of garage setups, especially those with heavy metal doors, may require sensor recalibration to maintain proper alignment and functionality.”
Common Causes and Warning Signs
Ever noticed your door reversing for no reason? Misaligned units often trigger this safety response. A stray cricket bat or vacuum cleaner bump can shift sensors just enough to break the infrared connection. Check both units – if their lights face different directions, realignment’s needed.
Dusty lenses cause more headaches than you’d think. Garages gather grime like magnets. A quick wipe with a microfiber cloth often restores beam strength. Spider webs? They’re public enemy number one for sensors – clear them weekly during pest season.
Wiring gremlins sneak up unexpectedly. Rodents love chewing through thin cables, especially in cooler months. Look for frayed wires or loose connections near the motor unit. If lights flicker during rain, moisture might be invading weather seals.
Diagnostic Techniques for Sensor Issues
Start simple – clean lenses and check alignment. Use a spirit level to ensure both units sit straight. Most systems need direct eye contact between sensors. Test by closing the door – if it reverses immediately, the beam’s still broken.
For intermittent faults, try the cardboard trick. Slide a sheet between sensors while activating the door. Properly aligned units will stop closing when the beam’s blocked. No reaction? Time to investigate wiring or power supply.
Remember, three-quarters of sensor troubles fix with basic care. But if problems persist after cleaning and realignment, consult a garage door professional. Your family’s safety deserves reliable protection.
Sensor Cleaning and Realignment Techniques
Maintaining your security system’s effectiveness doesn’t require special tools – just regular care and attention. Let’s explore simple methods to keep your safety features working like new.
Effective Cleaning of Sensor Lenses
Dusty lenses are the #1 culprit for faulty safety beams. Start by unplugging the opener – this prevents accidental activation while you work. Gently wipe the glass surface with a microfiber cloth, moving in circular motions. Stubborn grime? Lightly dampen the cloth, but skip harsh cleaners that could cloud the surface.
Remember those cobwebs in the corner? Spiders love sensor units as much as you hate their webs. Make weekly checks during mating season. A quick brush with an old toothbrush keeps lenses clear without scratching. These simple steps ensure your sensors function correctly and signal properly.
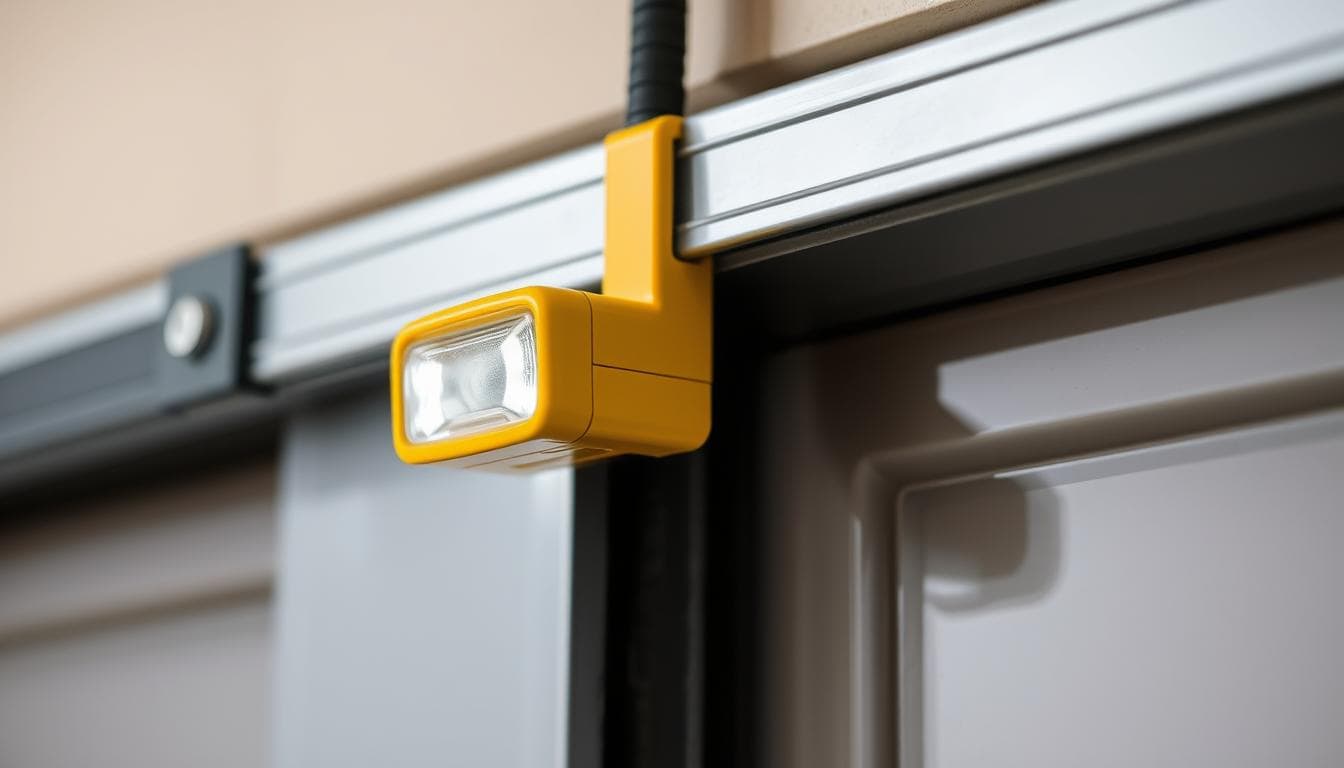
Adjusting Sensor Alignment for Optimal Performance
Proper positioning matters more than you’d think. Both units must sit 10-15cm off the ground and face each other directly. Loosen the wing nuts, then adjust until the receiver’s green light stays solid. Tighten carefully – overtightening can shift the angle again. If the lights are not aligned, it could indicate an issue.
Test your work with the newspaper trick. Place a rolled-up paper between the sensors while closing the door. If it reverses immediately, you’ve nailed the alignment. No response? Double-check for hidden obstructions or wiring issues. Each step is crucial for ensuring the sensors work effectively.
Regular maintenance takes minutes but adds years to your system’s life. When that green light shines steady, you’ll know your family’s protection remains rock-solid.
Troubleshooting Brand-Specific Sensor Issues
Ever struggled with a finicky sensor that works perfectly for your neighbour but drives you bonkers? Different security systems have unique personalities – especially when it comes to popular Australian brands. Let’s crack the code on two household names that dominate our garages. Improper garage door anchoring can sometimes lead to misaligned sensors, which may cause the garage door sensor to show a yellow light.
LiftMaster and Chamberlain Systems Demystified
These market leaders share a colour language but demand different approaches. The transmitting unit’s amber glow and receiver’s green light indicate normal operation. Newer models, however, can be as temperamental as a Melbourne weather forecast during setup.
Why Is My Garage Door Sensor Yellow
| Brand | Common Issues | Quick Fixes | Pro Tip |
|---|---|---|---|
| LiftMaster | Alignment drift | Check 10-15cm height | Use laser level for precision |
| Chamberlain | Wiring corrosion | Inspect terminal connections | Apply dielectric grease |
LiftMaster units often act up after summer storms. Humidity seeps into housing, causing false alerts. Wipe down casings and check for condensation behind lenses. For Chamberlain systems, that intermittent amber light might signal loose wiring rather than alignment issues – tighten those screw terminals first.
Both brands benefit from their dedicated customer support teams. Many Aussies don’t realise free phone diagnostics are included with warranty registration. Before paying for a technician, try their video troubleshooting guides – they’ve saved countless weekend warriors from frustration.
Remember, these premium systems have safety features that cheaper models lack. That complexity means professional calibration tools often spot issues invisible to the naked eye. If basic cleaning and realignment fail, it’s worth booking that service call.
Environmental Interferences and Wiring Concerns
Your garage’s safety system faces silent threats daily – some obvious, others hidden in plain sight. From harsh sunlight to sneaky cable damage, these challenges demand regular attention to keep protection reliable.
Impact of Sunlight and Obstructions
Ever noticed your security beam failing at the same time each afternoon? Blazing Aussie sun can flood sensor lenses, drowning out infrared signals. A simple shield bracket or slight angle adjustment often solves this. For persistent glare, try mounting a small awning above the units.
Nature’s debris causes more chaos than you’d expect. Autumn leaves, morning dew, or determined spiders can block the beam’s path completely. Weekly wipe-downs prevent buildup, while trimming nearby plants reduces leafy intruders.
Wiring Inspection and Necessary Repairs
Those thin cables snaking to your garage door opener? They’re lifelines needing gentle care. Post-renovation checks are crucial – paint splatters or accidental snags can damage insulation. Look for cracked sheathing or exposed copper near connection points that could lead to sensor problems.
Pro tip: Secure loose wires with cable clips to prevent tugging. For complex common sensor issues, professional help ensures safe fixes. Remember – dodgy wiring won’t improve with time, and delays risk bigger problems with your garage door sensors.
Monthly visual checks take minutes but save hours of frustration. Spotting early signs like flickering lights or erratic operation helps address concerns before they escalate into bigger issues. Your garage’s guardians deserve this simple care!
FAQ
How do garage door sensors work?
These devices use infrared beams to detect obstructions. If something blocks the infrared beam while closing, the system stops immediately to prevent accidents. Proper alignment between both sensors is crucial for smooth operation and avoiding any potential issues.
What does a yellow indicator light mean?
A steady yellow glow often signals alignment problems or dirty lenses. Blinking yellow usually indicates a broken beam connection. Check for obstructions or misalignment first before exploring wiring issues, as these can lead to significant problems.
Can sunlight affect sensor performance?
Direct sunlight can overwhelm infrared receivers, creating false obstruction alerts. Try shading the sensors during peak daylight hours or adjusting their angle slightly to avoid solar interference and ensure proper function.
How do I clean sensor lenses properly?
Use a microfiber cloth with mild glass cleaner. Wipe gently in circular motions, ensuring no residue remains. Avoid abrasive materials that could scratch the lenses and reduce sensitivity, as this could lead to operational issues.
Why won’t my Chamberlain sensors stay aligned?
Vibrations from frequent use can loosen mounting brackets. Tighten all screws and verify both units sit flush against their mounts. For LiftMaster models, check the diagnostic LED pattern in the manual for specific error codes that might indicate a problem.
When should I inspect the wiring?
Examine cables if lights flicker or sensors behave erratically. Look for chew marks from pests, frayed insulation, or loose terminal connections. Always disconnect power before handling electrical components to avoid any potential issues.
Will a misaligned sensor drain power?
While not a direct power drain, constant error signals force the opener motor to work harder. This strain can shorten the system’s lifespan and increase energy use over time, making it essential to address any alignment issues promptly.