
A new garage door can be a straightforward home upgrade. A little preparation before the installers arrive helps the work run safely and smoothly.
At A1 Garage Doors Gold Coast, we always appreciate a garage that’s ready for us. If you’re not sure how to prepare for a garage door installation, don’t worry — most of it comes down to clearing space, checking access and confirming the details. This guide covers what to do before installation day, what happens while our team works, and what to check once your new door is in.
Why Preparing for Your Garage Door Installation Matters
Installers bring ladders, tools, tracks, panels and often a new garage door opener. They need clear floor space around the opening and room to move equipment in and out. If the work area is blocked, the job slows down before it starts.
Good preparation also protects your belongings. Doors, cars and stored items can be damaged if they’re too close to the work zone. Half an hour of clearing the night before is time well spent.

What to Do Before the Installers Arrive
Most preparation happens the day before, or on the morning of your scheduled installation. None of it needs special skills.
Clear the Garage Door Work Area
Move vehicles out of the garage and off the driveway near the opening. Then clear the floor space around the door. Ask your installer how much clear space they need around the opening and along the walls.
That means moving bikes, boxes, tools, mowers and anything stored near the tracks. Take fragile or valuable items off nearby shelves and hooks too. Doors vibrate during removal and installation, and things can shift.
Check Access, Driveway and Parking for the Installation Team
The installation team will arrive with a vehicle and equipment. Leave space in the driveway for parking and unloading. If access is tricky — a narrow drive, a gate, body corporate rules — mention it when you book.
One thing we ask homeowners to check before installation day is access through the garage itself. Our installers need to move freely between their vehicle and the opening. Clear paths from the driveway into the garage help the whole job run on time.
Also think about side doors and internal doors. If the only way into the garage is through the house, make sure that path is clear as well.
Check the Power Point for Your Garage Door Opener
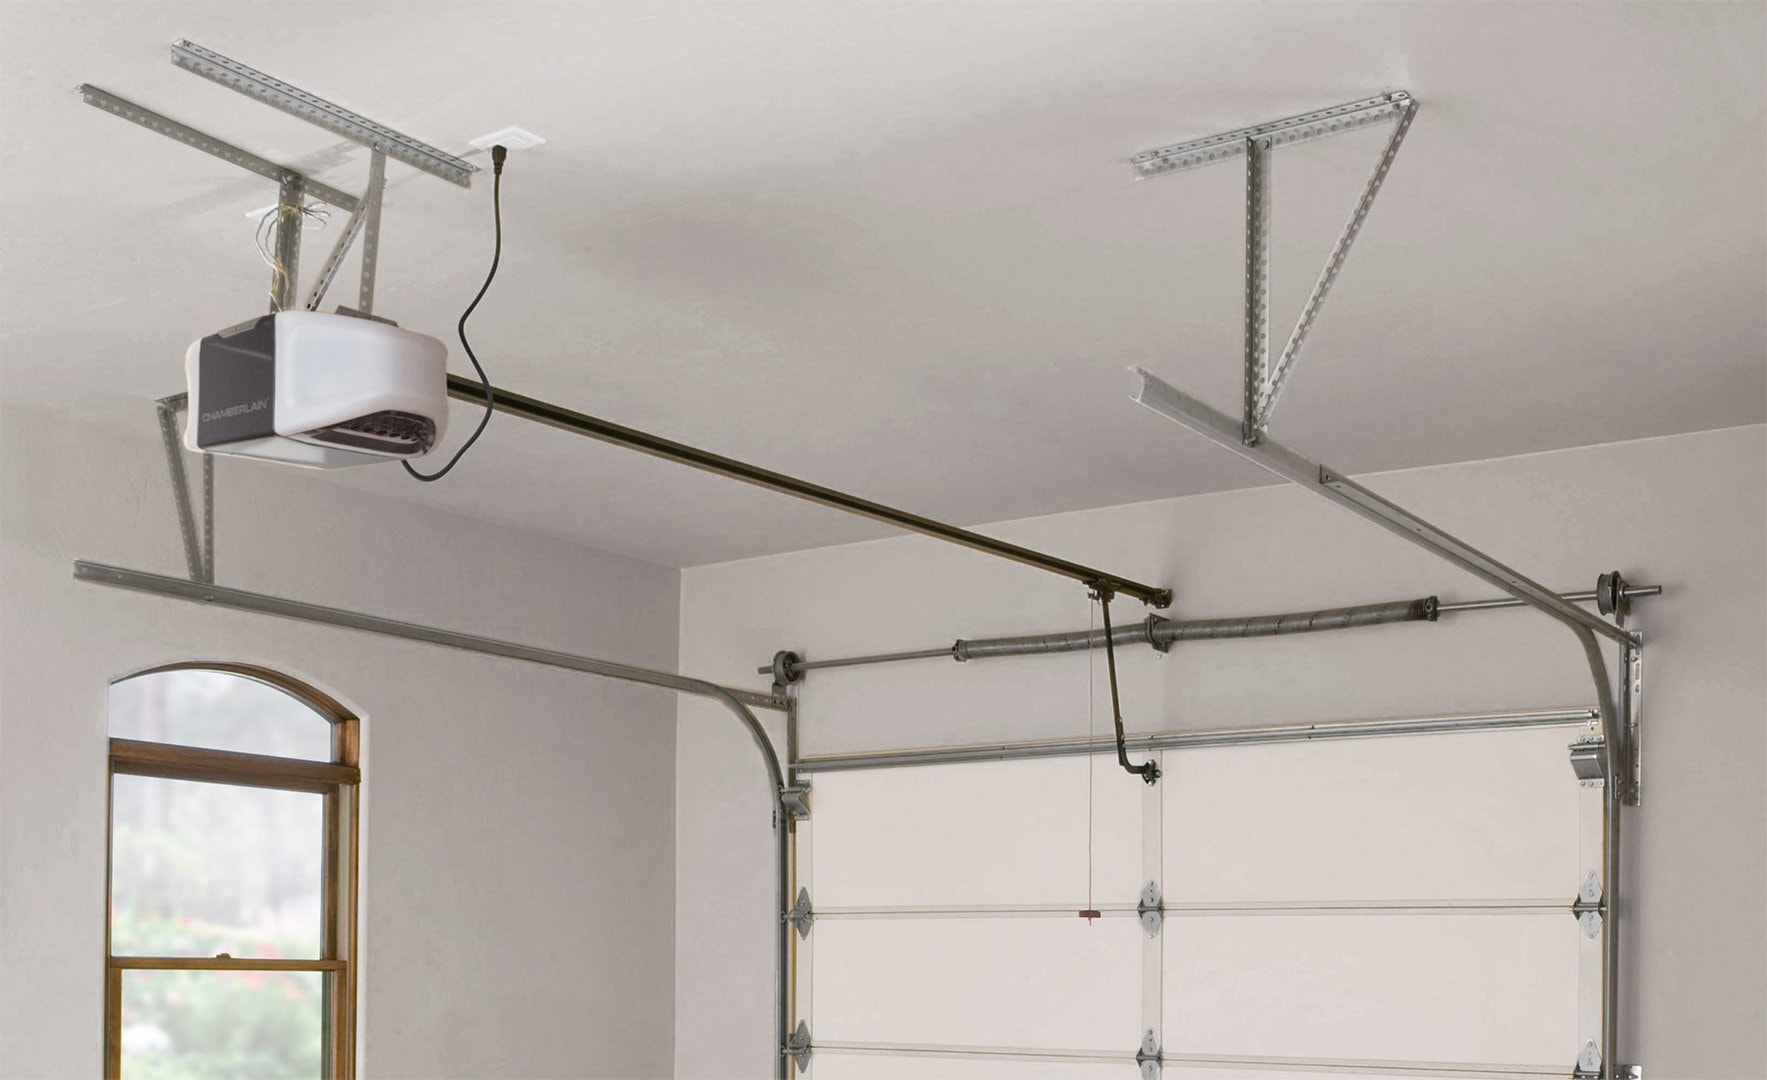
If a motor is being installed, the opener needs power. Check that there’s a working power point near where the motor will sit — usually on the ceiling or high on a side wall.
Here’s the key safety point. Testing an existing power point is fine. Adding one is not a DIY job. New fixed wiring must be done by a licensed electrician, so book one ahead of time if there’s no outlet nearby. Don’t run an extension lead as a permanent fix.
Check the Opening, Frame and Floor
Look at the garage door opening itself. The lintel (the beam across the top) and the jambs (the sides of the frame) should be solid and free of rot or damage. Check for pipes, wiring, ducts or shelving close to the opening. These can affect where tracks, springs and brackets are fitted.
The floor matters too. A badly cracked or uneven floor can affect how the door seals. If you know about any problems with the frame, floor or structure, raise them before the day. Surprises slow installations down.
It’s also worth confirming the opening has been measured and the clearances checked — width, height, side room and headroom (the space above the opening). For a full walkthrough, see our guide to measuring a garage door opening. For limited overhead space, read our garage door headroom requirements guide. Make sure the dimensions are checked before the door is ordered.
Confirm the Details of Your Scheduled Installation
A day or two before, confirm the basics with your installer:
- The appointment time and expected arrival window
- Whether the existing door will be removed and taken away
- Who will dispose of packaging and waste
- Whether you need to be home for the whole visit
- Where the remotes, keypad and paperwork will be left
Keep children and pets away from the work area on the day. An active worksite with a moving door is not a safe place for kids or animals.
Preparing for a Garage Door Replacement
Replacing an existing door needs the same preparation, plus one extra decision: what happens to the old door.
In most cases the installation team removes the existing door as part of the job. Confirm this when you book, along with disposal. Old doors are bulky, and disposing of one yourself means a trip to the tip.
One thing you should never do is remove the old door yourself to “help”. Garage door springs — especially torsion springs, the coils above the opening — are under extreme tension. So are the cables. Loosening or removing them without training and tools can cause serious injury. Clearing and access are homeowner jobs. Door removal is not.
What Happens on Garage Door Installation Day
Every installer works a little differently, so don’t expect an identical process every time. In general, though, installation day follows a familiar shape.
Arrival and Site Inspection
The installers will arrive, walk the site with you and inspect the opening. This is the moment to mention anything you’ve noticed — a sticking old door, a crack in the floor, a power point that’s playing up.
Removing the Old Door and Installing the New Door
For a replacement, the team safely removes the existing door, tracks and hardware first. Then the new door goes in: tracks, panels or curtain, springs, cables and brackets, all fitted and adjusted to suit the opening. New doors often arrive in sections, which is why clear access and unloading space matter.
Opener Setup, Testing and Safety Checks
If you’ve ordered a motor, the garage door opener — often called an operator in the trade — is fitted and connected once the door itself is running smoothly. The team then tests the door through its full travel and runs safety checks. The team should test the opener’s safety features, including its automatic reversing system and any safety sensors fitted to the door.
Before they leave, the installers should show you the basics: the remote control, any keypad or wall button, and the manual release. The manual release is the cord that lets you open the door by hand during a power outage. Make sure you know where it is and how it works.

What to Check After Your New Garage Door Is Installed
Once the team has packed up, spend ten minutes getting familiar with the door:
- Open and close it a few times. It should run smoothly and stop fully at both ends.
- Test every control — each remote, the wall button and the keypad if you have one.
- Find the manual release and try it with the door closed.
- Ask the installer to demonstrate the door’s safety features using the manufacturer’s recommended test procedure.
- Put the warranty and maintenance documents somewhere safe. Ask your installer what aftercare the door needs and when.
If anything seems off — a noise, a shudder, a remote that doesn’t respond — call the installer while the job is fresh. Small adjustments are normal after a new installation.
Leave adjustments to springs, cables and tracks to the professionals. They’re tuned under load, and they stay professional-only work after installation just as they are during it.
Garage Door Installation Preparation Checklist
Run through this the day before or the morning of your installation:
- Vehicles moved out of the garage and driveway
- Floor space cleared a few metres back from the opening
- Bikes, boxes and tools moved away from the walls and tracks
- Fragile or valuable items removed from nearby shelves
- Driveway space left for installer parking and unloading
- Working power point checked (if a motor is being installed)
- Electrician booked if no power point is near the opener position
- Frame, lintel and floor checked for damage, and issues reported
- Appointment time, old door removal and disposal confirmed
- Children and pets organised to stay clear of the work area
- Questions ready for the installers on arrival
Common Questions About Preparing for Installation
Do I need to be home during the installation?
Usually someone should be home at the start and the end — to give access, answer questions and receive the handover. Ask your installer what they prefer for the time in between.
How long does a garage door installation take?
It depends on the door type, whether an old door is being removed, and whether a motor is fitted. Your installer can give you a realistic window when you book. Good preparation on your side helps the day stay on schedule.
Can I install a garage door myself?
We wouldn’t recommend it. A garage door is heavy, and the springs and cables are under high tension. Professional installers have the tools and training to fit the door safely and set it up to run correctly. DIY installation can also affect warranty coverage.
Who removes the old door and the packaging?
Most installers include removal and disposal in a replacement job, but it’s worth confirming when you book. The same goes for packaging — new doors arrive well wrapped, and the waste adds up.
Ready for Installation Day?
A cleared garage, a checked power point and a confirmed appointment cover almost everything. Do those three and installation day should be straightforward.
If you’re planning a new or replacement door, A1 Garage Doors Gold Coast can help with advice, supply and professional fitting through our garage door replacement and installation service. Get in touch, tell us about your garage, and we’ll help you get everything lined up — preparation included. If you are nearby, see our garage door services in Helensvale.
