
Roll Up Garage Door Motor Installation Guide
Adding a motor to your roll up garage door transforms daily convenience—just press a button and drive straight in. While many Australian homeowners complete this upgrade themselves, the job requires careful preparation, the right tools and respect for the mechanical forces involved. Once your roll-up motor is installed, it’s important to recognise the early signs of mechanical issues down the track — our humming garage door motor troubleshooting guide walks you through the most common faults and how to diagnose them quickly.
This guide walks you through roll up garage door motor installation from start to finish, including safety checks and limit programming for smooth, reliable operation.
What Is a Roll Up Garage Door Motor?
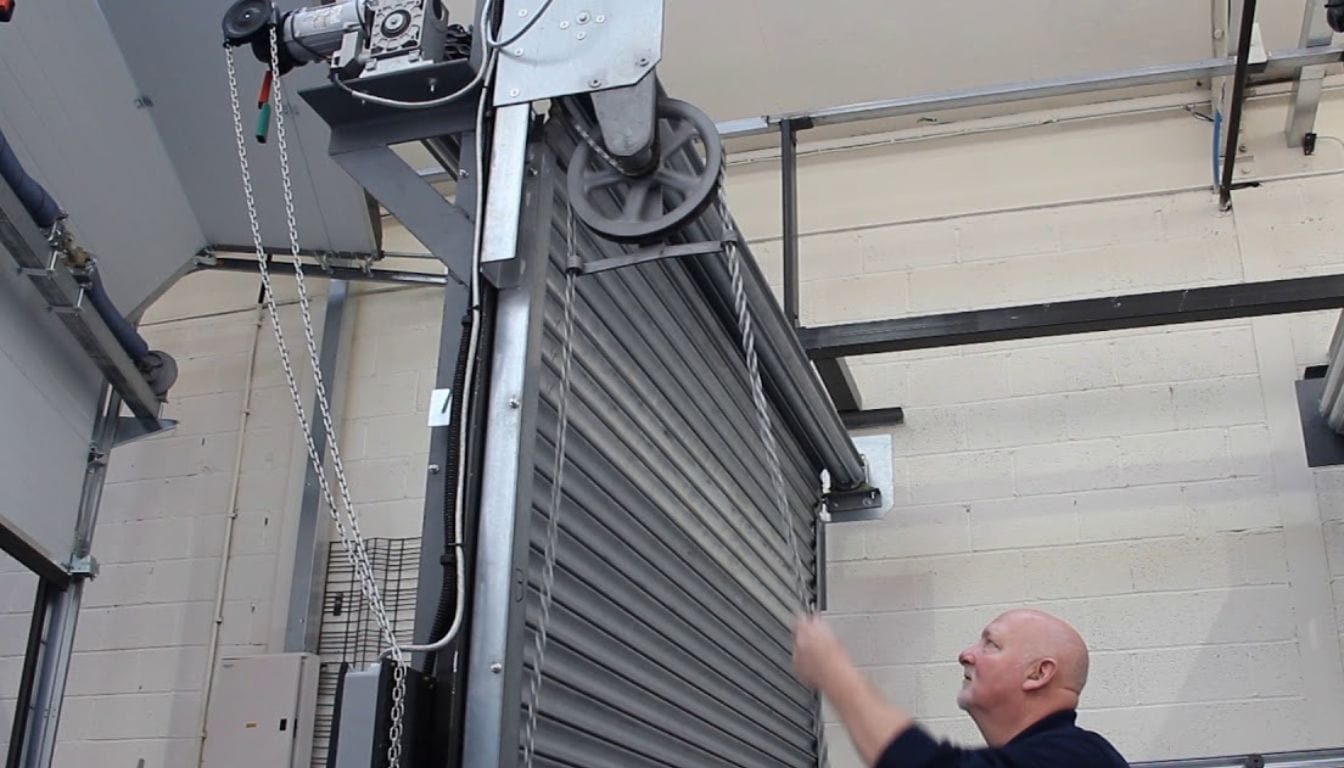
A roll up garage door motor (also called a roller door opener) automates the opening and closing of your roller door. The motor mounts directly to the door’s existing barrel shaft and rotates the drum, winding or unwinding the door curtain.
Unlike sectional garage door openers that use chain or belt drives along a ceiling rail, roller door motors attach at the side of the door opening. This compact design suits garages with limited ceiling clearance.
Most manual roller doors can be retrofitted with a motor, provided the door is in good condition and properly balanced. Damaged curtains, worn springs or incompatible shaft configurations may require repairs before motorisation.
Before You Install a Roller Door Motor
Successful installation starts well before you pick up any tools. Understanding the risks and requirements helps you decide whether this is a job you’re comfortable tackling yourself. For a broader overview of garage door automation, our comprehensive guide on how to install your garage door opener covers different drive types and essential specifications to consider before purchasing.
Safety Requirements and Warnings
Roller doors operate under significant spring tension. The torsion springs inside the barrel counterbalance the door’s weight, and this stored energy can cause serious injury if released unexpectedly. Never attempt to adjust or work near these springs without proper training.
Other safety essentials include using a sturdy ladder, having a second person for lifting and positioning, and disconnecting any existing power before electrical work. If your installation requires new wiring, engage a licensed electrician.
Tools and Equipment Needed
Gather these items before starting:
- Step ladder or platform ladder
- Socket set and spanners (typically 10mm, 13mm, 17mm)
- Cordless drill with appropriate bits
- Spirit level
- Tape measure
- Cable ties
- Safety glasses and gloves
You’ll also need a 240V power outlet within reach of the motor’s power cord. If no outlet exists nearby, have one installed by a licensed electrician before proceeding.
Check Door Balance and Spring Tension
A properly balanced door is essential for motor installation. An unbalanced door places excessive strain on the motor, shortens its lifespan and can trigger safety systems that prevent normal operation.
How to Perform a Door Balance Test
With the door closed, disengage any existing lock and lift the door manually to about waist height. Release the door carefully—a balanced door should stay roughly in place, perhaps drifting slightly in either direction. If the door falls closed rapidly or shoots upward, the spring tension requires adjustment before you proceed.
Doors that fail the balance test need professional attention. Adjusting roller door springs is dangerous work that requires specialised tools and training. The cost of professional spring adjustment is minimal compared to the risk of serious injury.
Weight Bars and Retensioning
Some roller doors use weight bars along the bottom rail to assist with balance. If your door has a weight bar and still fails the balance test, the springs likely need retensioning. Again, leave this work to qualified technicians—the forces involved can be severe.

Choosing the Right Motor for Your Roll Up Garage Door
Not all motors fit all doors. Compatibility depends on your door’s size, weight, shaft diameter and drum wheel position.
Common Roller Door Motor Types
Most residential roller door motors are shaft-mounted units that attach directly to the door’s barrel. Direct-drive motors offer reliable performance and straightforward installation on compatible doors. When purchasing, check the motor’s specifications against your door’s dimensions and weight rating.
Compatibility Issues to Watch For
Different manufacturers position components differently. Steel-Line, B&D, Gliderol and other brands may have drum wheels on opposite sides or use different shaft diameters. Measure your existing shaft and note the drum wheel position before ordering a motor. Many motors include adapter kits for common configurations, but verifying compatibility saves frustration later.
Step-by-Step Roll Up Garage Door Motor Installation
With your door balanced and your motor confirmed compatible, you’re ready to begin installation.
Preparing the Door and Shaft
Start with the door in the closed position. Locate the U-bolt on the opposite end of the shaft from where the motor will mount. Tighten this U-bolt to secure the shaft and prevent it rotating during installation.
If you’re replacing an existing motor, release it to manual mode according to the manufacturer’s instructions before removal. If you’re upgrading an existing system rather than installing new, check our detailed garage door motor replacement cost breakdown to understand pricing factors and what to expect from professional installation.
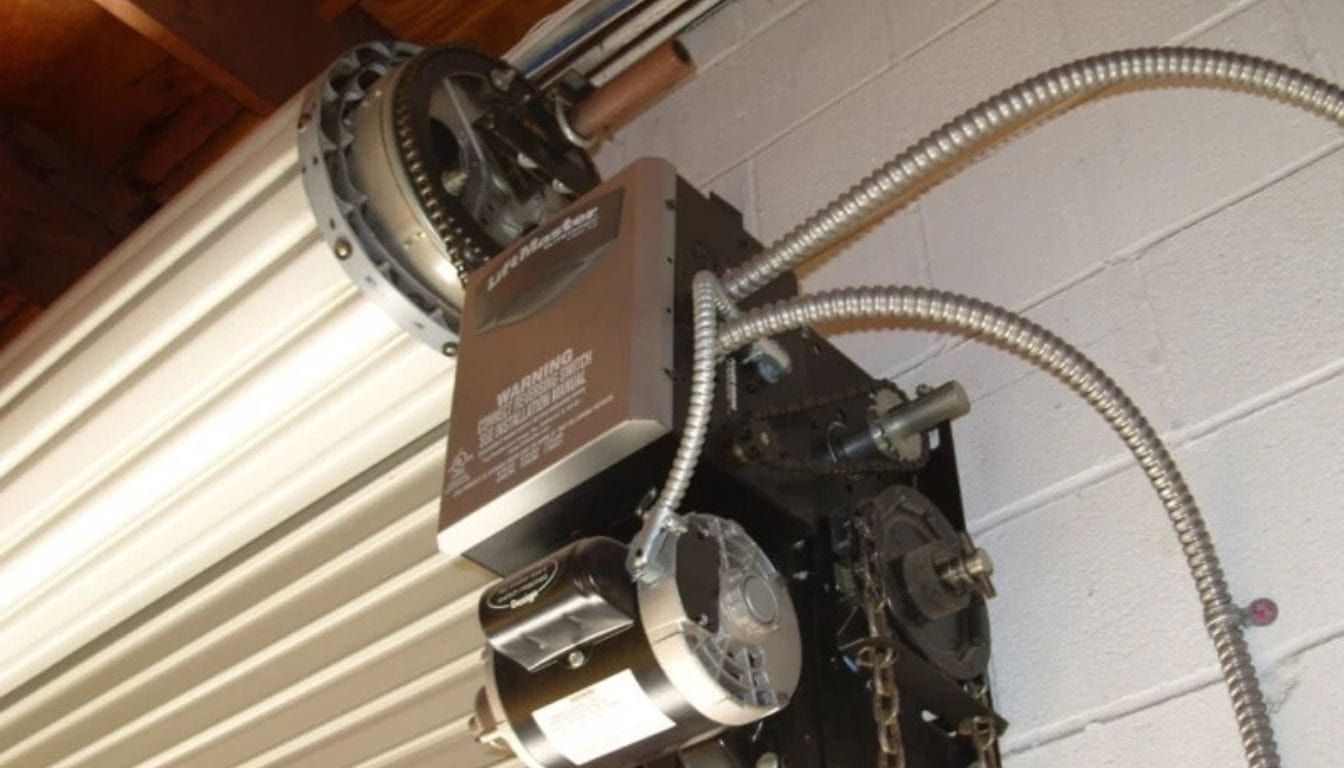
Mounting the Motor to the Shaft
Remove the U-bolt from the motor-side bracket. Carefully lift the motor unit and slide it onto the shaft, aligning the drive forks or coupling mechanism with the shaft flats. Most motors have a specific orientation—check your manual to ensure the motor sits correctly.
The drive forks must engage securely with the shaft. If they don’t align, rotate the shaft slightly using the manual release until everything seats properly. Never force components into position.
Securing the Motor and Bracket
Once the motor is positioned on the shaft, install new U-bolts through the mounting bracket and tighten them in an alternating sequence to maintain even pressure. The motor should sit firmly without any movement or play.
Double-check that the shaft remains secure at the opposite end and that all fasteners are properly tightened. Loose mounting hardware causes vibration, noise and premature wear.
Setting Travel Limits and Programming the Motor
Travel limits tell the motor where to stop when opening and closing. Incorrect limits cause the door to stop short, over-travel or fail to seal properly at the floor.
Setting Closed and Open Positions
Most motors have limit adjustment buttons or dials on the unit itself. With power connected, use the controls to run the door to its fully closed position. The bottom of the door should compress the floor seal slightly without excessive pressure. Set the closed limit at this point.
Next, run the door to its fully open position. The curtain should wrap completely onto the barrel without the motor straining at the end of travel. Set the open limit here.
Final Motor Calibration
Many modern motors include an automatic learning cycle that calibrates travel distance and force settings. Run this cycle according to your motor’s instructions. The motor will open and close the door several times, measuring resistance and adjusting its parameters automatically.
If your motor allows manual force adjustment, set it to the minimum level that achieves reliable operation. Excessive force can mask balance problems and increases injury risk if the safety systems fail. Before installing a new motor, it’s important to identify any underlying issues—our guide on common roll up door problems and how to fix them helps you troubleshoot obstructions, power issues, and mechanical failures.
Testing and Safety Checks After Installation
Before considering the job complete, verify that everything operates correctly and safely. After installation, regular maintenance keeps your motor running smoothly—refer to our garage door troubleshooting guide to diagnose unusual noises, uneven travel, and other common issues.
Manual and Powered Test Cycles
Run the door through several complete open and close cycles using both the wall button and any remote controls. Listen for unusual noises—grinding, scraping or clicking may indicate alignment issues or loose components. The door should travel smoothly without hesitation or jerking.
Test the manual release mechanism to confirm you can operate the door if power fails. This is essential for emergency egress.
Safety Sensor and Auto-Reverse Testing
If your motor includes photoelectric safety sensors, verify they’re correctly aligned and functioning. Place an object in the door’s path and activate the close function—the door should reverse immediately when the beam breaks.
Test the auto-reverse function by placing a piece of timber flat on the ground where the door closes. When the door contacts the obstruction, it should stop and reverse. If it doesn’t, recheck your force settings and limit positions.
Common Installation Mistakes to Avoid
Even experienced DIYers make errors that compromise performance or safety. Watch out for these common problems:
Failing to check door balance before installation puts excessive strain on the motor and may void your warranty. Incorrect limit settings cause the door to slam into the floor or stop before fully closing. Over-tightening U-bolts can distort the shaft or bracket. Skipping the safety sensor test leaves your family unprotected.
When to Call a Professional Installer
Some situations call for expert help rather than DIY determination. If your door fails the balance test, requires spring adjustment or has damaged components, professional repair should come before motorisation. Electrical work beyond plugging into an existing outlet requires a licensed electrician. If your roller door requires repairs before motor installation, our roller door repairs guide explains the balance test and when to call a professional for spring or cable adjustments.
If you’re uncomfortable working at height, dealing with mechanical systems or simply want the peace of mind that comes with professional installation, there’s no shame in calling for help.
A1 Garage Doors Gold Coast provides professional roller door motor installation across the Gold Coast and Brisbane. With a 4.9-star rating and experience since 2020, our technicians ensure your motor is correctly fitted, properly programmed and backed by reliable service. Call (07) 5515 0277 to discuss your installation or book a quote.
Frequently Asked Questions
Can I add a motor to an existing roll up garage door?
Yes, most manual roller doors in good condition can be retrofitted with a motor. The door must be properly balanced, the shaft must be compatible with your chosen motor and you’ll need a nearby power outlet. Damaged doors or those with worn springs may need repairs first.
How long does it take to install a roller door motor?
For a straightforward installation on a compatible, balanced door, expect two to three hours including limit programming and safety testing. Complications like wiring work, spring adjustment or compatibility issues extend this significantly. Professional installers typically complete standard jobs in one to two hours.
Do roller door motors need professional wiring?
Most roller door motors plug into a standard 240V power outlet, so no special wiring is required if a suitable outlet exists nearby. However, if you need a new power point installed, this must be done by a licensed electrician. Never use extension leads as a permanent solution—they create fire and safety hazards.
What happens if my door isn’t balanced before motor installation?
An unbalanced door forces the motor to work significantly harder, leading to premature failure, overheating and unexpected safety cut-outs. The motor may struggle to lift the door, stop mid-travel or reverse unexpectedly. Always perform a balance test before installation and have spring tension adjusted professionally if needed.
Are all roller doors compatible with motors?
No. Compatibility depends on shaft type, drum wheel position, door size and weight. Some older doors, custom installations or budget doors have non-standard configurations that limit motor options. Always check manufacturer compatibility guides or consult a professional before purchasing.
Keep Your Motorised Door Running Smoothly
After installation, basic maintenance extends your motor’s lifespan. Every six months, check mounting fasteners for tightness, lubricate moving parts according to manufacturer recommendations and retest the safety sensors. If the door becomes harder to operate or the motor strains, recheck the balance—springs can lose tension over time.
Your roll up garage door motor should provide years of reliable service. Whether you tackle the installation yourself or choose professional fitting, understanding the process helps you make informed decisions about your home.
Need help with your roller door motor installation? Contact A1 Garage Doors Gold Coast on (07) 5515 0277 for expert advice and service across the Gold Coast and Brisbane regions.