
Is your garage door remote no longer working, leaving you stranded outside your own home? This common but frustrating issue can often be resolved without professional help. Here, we uncover practical DIY tips to identify and fix problems with malfunctioning garage door remotes. From simple battery checks to more involved troubleshooting steps, our guide empowers you to restore functionality and ease of access to your garage. Whether you’re dealing with connectivity problems or an unresponsive device, these solutions are designed with Australian garage owners in mind, ensuring your inconvenience is as short-lived as possible.
Brief Overview
A malfunctioning garage door remote is a common issue that can be resolved with a few DIY steps. Start by checking for simple problems like dead batteries, which are often overlooked. If the issue persists, understanding and resetting the remote’s rolling code technology may help reestablish synchronization with the door opener. Investigating the logic board for any failures can also pinpoint problems. When repairs aren’t sufficient, consider replacing the remote with a compatible universal model for enhanced reliability and performance. For persistent issues, professional assistance from services like A1 Garage Doors Gold Coast can ensure seamless garage door operation.
Key Highlights
* Resolve garage door remote issues with DIY tips like battery checks and reducing signal interference.
* Quickly identify if problems stem from the remote or the garage door mechanics before troubleshooting.
* Regularly replace batteries and check for signal interference to ensure reliable remote functionality.
* Resynchronize remote controls using rolling code technology for enhanced security and operation.
* Consider upgrading to compatible universal remotes for efficient garage door system integration.
Understanding the Basics: Why Your Garage Door Remotes May Fail
When your garage door remote isn’t working, it can be frustrating. Understanding why this happens is the first step toward a solution. Many issues may arise from interference with the remote’s signal, dead batteries, or obscure changes within the garage door opener’s system. Frequently, these problems relate to the most common reason your garage door remote might stop working, which is a loss of synchronization between the remote and the door opener. Through proper remote troubleshooting and a bit of DIY know-how, garage door repair can be manageable. Let’s delve deeper into identifying whether it’s truly a remote issue or a garage door malfunction.
Quick Test: Is It a Remote Problem or a Garage Door Issue?
To tackle your garage door remote not working, the first thing you need to establish is whether the fault lies with the remote or the garage door itself. Begin your remote troubleshooting by thoroughly inspecting the remote control. Press the button and observe if the garage door makes any noise or movement. If the opener remote activates the door partially or makes sounds, then the problem isn’t with the remote; the issue may lie within the door’s mechanics or the motor. Alternatively, if there’s no response, it might be a signal or remote problem.
Consider if might be interference from other wireless devices, which could be jamming the remote signal. Everything from radios to Wi-Fi routers could affect the performance of remotes, leading to frequent issues with door control, sensors, and other components. To eliminate interference as a cause, try turning off nearby devices to see if the remote works better. Additionally, inspect all aspects of the remote controls.
Check that the remote’s code aligns with the garage’s motor system. A code mismatch or a dead battery could be causing the garage door remote not working. By closely examining these elements, you can narrow down the list of potential issues and adjust your approach to door service accordingly. If none of these steps work, it might be time to consult a door service professional from A1 Garage Doors Gold Coast to find a lasting solution to your opener troubles.
Step 1: The Simple Checks Before You Panic
Before jumping to conclusions about your garage door remote not working, consider some straightforward initial checks. Frequently, the answer lies in minor, easily overlooked issues that you can resolve with minimal effort. These small adjustments might save you from unnecessary stress and a premature call to your garage door service. By following these initial troubleshooting steps, you stand a good chance of identifying whether the problem is as simple as it seems or if further investigation into the door’s system is warranted. Let’s explore a key aspect of this process that often proves insightful: replacing the batteries in your remote controls.
Try Replacing the Batteries: A Simple yet Overlooked Solution
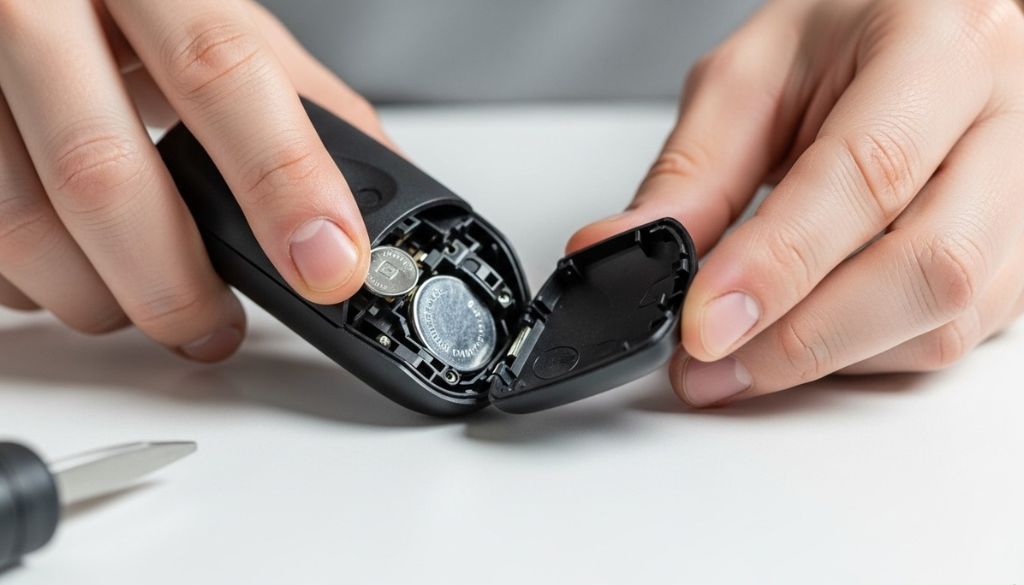
Finding your garage door remote not working? You’d be surprised how frequently a simple battery change can resolve the issue. We often underestimate how quickly the power in these small devices depletes, especially if you have an older garage door opener. Weak batteries are a common culprit in remote control malfunctions, impacting the signal sent to your garage door motor. Begin by opening the remote’s casing to expose the battery compartment. Check for a dead battery, signs include corrosion or leaking fluids. If you spot these, it’s time to replace the battery with a fresh one.
Once you’ve fitted the new battery, test the remote. Place yourself at a close distance from the door opener to ensure interference isn’t affecting the signal. Press the remote button and listen for a response from the garage door’s motor. A lack of response might mean it’s not a battery issue, which could point to other components like the remote’s sensors or a code alignment problem. However, if the garage door responds, you’ve likely pinpointed the problem, weak batteries. This solution not only fixes the immediate issue but prevents future inconveniences related to a dead battery. If your remote is functioning but the door still refuses to shut, our guide on garage door wont close explains the most common causes and practical solutions.
Finally, ensure the outlet providing power to the motor is functional, as the remote needs a sound electrical connection to work properly. Consistent testing of these crucial elements can minimize the frequency of issues with your remote controls, optimizing your garage door’s performance. For ongoing peace of mind, consider regular maintenance checks with a professional garage door service like A1 Garage Doors Gold Coast, ensuring your equipment stays in top condition.
| Initial Check | Common Issues | Solutions | Next Steps |
|---|---|---|---|
| Check Battery | Dead Battery | Replace with Fresh Battery | Test Remote Functionality |
| Confirm Range | Out of Range | Move Closer to Garage Door | Check for Improved Signal |
| Examine LEDs | LED Not Lighting | Inspect Circuit and Connections | Seek Professional Repair |
| Inspect Antenna | Blocked or Damaged Antenna | Clear Obstructions and Repair | Retest Remote Operation |
This table condenses the primary steps in addressing remote control malfunctions, enabling a clear path to resolving common garage door problems efficiently.
Step 2: Re-Establishing the Connection with Your Garage Door Opener
When faced with a garage door remote not working, reconnecting your remote to the garage door opener can be a practical solution. This step involves resynchronizing communication between the remote control and the door opener system, which often gets disrupted due to interference or a reset of the rolling code system. The key technology here is the rolling code technology, which provides security but can be tricky if disrupted. Let’s explore how understanding and managing this technology can help restore the connection effectively.
Understanding the Rolling Code Technology in Your Remote
The rolling code technology embedded within your garage door opener is crucial for maintaining a secure and functioning system. Each time you press the button on your remote control, it sends a unique code to your door opener. This code changes with every use, protecting against unauthorized entry. However, disruptions can cause your garage door remote to stop working, often leaving users frustrated. Recognizing the importance of the rolling code is vital in remote troubleshooting efforts.
When your remote is malfunctioning, it might be due to a mismatch in the code synchronization. Interference from other devices or a simple reset of the system can cause these codes to desynchronize. It’s crucial to remember that even universal remotes might face difficulties if not properly programmed to handle your specific system’s rolling code technology. Carefully following the steps in your opener remote’s manual can help you re-establish the connection.
Typically, this involves pressing a ‘learn’ button on the garage door motor, allowing the door opener to accept the rolling code from your remote. Proper maintenance of your opener’s remote also involves regular checks to ensure that the door’s sensors and other components are in sync with the device. By addressing these issues early, you can prevent more complex problems down the line. An occasional service check from professionals at A1 Garage Doors Gold Coast can also maintain the optimal function of your remote controls and garage door opener.
Step 3: Investigating the Inner Workings of the Logic Board
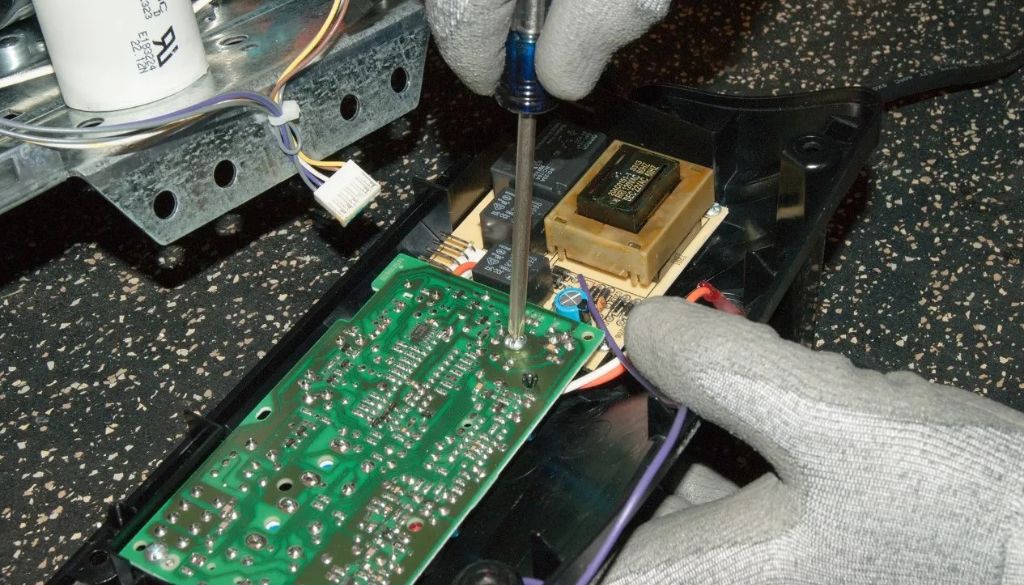
Diving into the core of your garage door opener system, the logic board plays a critical role in ensuring smooth operation. The logic board, often the brain of your garage door opener, manages all commands sent by your remote control. When your garage door remote isn’t working, inconsistencies within the logic board could be the root cause. This aspect can be complex, but understanding common failures and their fixes is essential for effective remote troubleshooting. Let’s uncover how addressing logic board issues can restore the full function of your garage door opener.
| Common Failures | Causes | Solutions |
|---|---|---|
| Non-responsive Unit | Power Supply Issues | Check and Replace Power Source |
| Erratic Movement | Signal Interference | Adjust Antenna Position |
| Overheating | Poor Ventilation | Enhance Cooling System |
| Faulty Sensors | Wiring Problems | Inspect and Reconnect Wiring |
This table succinctly outlines potential logic board issues in garage door openers and their resolutions, emphasizing the importance of regular maintenance.
Find and Fix: Common Logic Board Failures
The logic board is integral to the seamless performance of your garage door opener. When your garage door remote isn’t working, one of the primary suspects could be issues within this circuit board. Often located inside the door opener’s housing, the logic board processes signals from your remote control, translating them into mechanical action. Malfunctions here are common reasons your remote may not engage the garage door as expected. Recognizing signs like erratic operation, the door opening by itself, or the remote control’s failure to work altogether can direct you to logic board issues. Several scenarios could lead to logic board failures.
Power surges are frequent culprits. When an unexpected electrical flux hits your door opener, it can overload circuits, leading to temporary or permanent damage. This surge may scramble the logic board’s electronic code, causing syncing issues with your remote control. Interference from nearby electrical devices can also disrupt the board’s ability to receive signals, making the remote controls ineffective. If you’ve ruled out battery issues and resynchronization, checking the logic board for visible damage, like scorched components or a burnt smell, is essential.
Repairing the logic board often involves testing and sometimes replacing it entirely. Start by disconnecting the power and inspecting the board within the opener housing. Replacing a burned-out logic board requires professional expertise, especially to ensure compatibility with your garage door system. Contacting a professional like A1 Garage Doors Gold Coast for this service can be a wise choice, keeping safety and functionality at the forefront. Maintaining your logic board through regular inspections and protecting it from power surges can significantly reduce remote operational issues, keeping your garage doors working smoothly.
Proactive Steps to Maintain and Extend the Lifespan of Your Garage Door Logic Board
* Regularly check for any visible signs of wear or damage on the logic board.
* Protect the logic board by using a surge protector to prevent electrical overloads.
* Keep the opener housing clean and free of dust to enhance board functionality.
* Update garage door opener software to ensure compatibility and efficient operation.
* Ensure all electrical connections are secure to prevent disruption in the circuit’s performance.
* Minimize interference by setting devices that could interfere with signals away from the opener.
These steps provide a practical approach to sustaining your garage door system’s performance and reliability.
When to Consider Replacements: Evaluating Your Remote’s Longevity
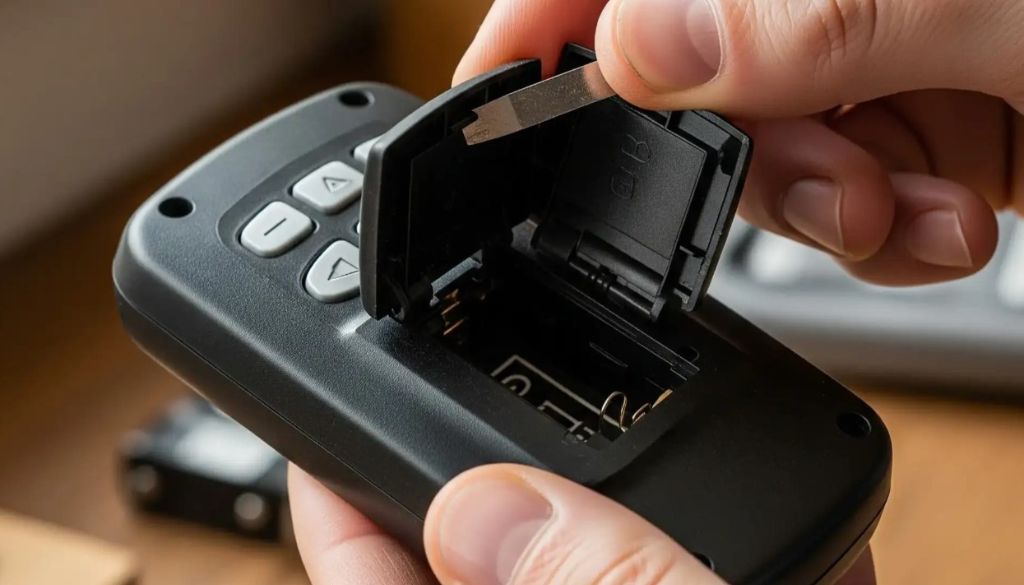
Deciding when to replace your garage door remote is a key step in maintaining your garage’s smooth operation. Given the crucial role these devices play in daily convenience, knowing when to seek new universal remotes can save you from unnecessary frustration. Various factors, like repeated signal loss or outdated technology, may indicate it’s time to upgrade. Evaluating these aspects helps determine if the issues stem from a malfunctioning remote or broader garage door opener concerns. Let’s explore how selecting the right new universal remotes can revive your system’s efficiency and reliability. If your remote still doesn’t operate the door after replacing the battery and checking the opener, the issue could be a broken garage door spring, which prevents the door from opening properly even when the opener is functioning.
Finding the Right New Universal Remotes for Your System
Choosing the right new universal remotes involves more than just picking any replacement off the shelf. It’s essential to align the new remotes with your current garage door system to ensure seamless integration. Start by checking compatibility with your existing garage door opener. Most modern systems provide guidelines or codes, and using these can simplify your search. The main goal is to find remotes that sync efficiently with the opener’s motor and sensors, avoiding potential issues with interference or miscommunication.
Before purchasing, evaluate features like signal range, ease of programming, and reliability of remote controls under your specific environmental conditions. This might mean looking at how well the devices can function amidst potential interference from other household electronics. For example, newer remotes often include enhanced security protocols like rolling code technology that mitigates signal interference and boosts security. Having a clear understanding of your current system’s setup enables you to choose a compatible universal remote that aligns with your garage’s motor and control needs.
It’s also wise to factor in the longevity and durability of the universal remotes. Selecting high-quality brands known for robust construction could extend the lifespan of your remote controls, minimizing the risk of early replacements. Additionally, consider ease of programming. Some remotes offer user-friendly instructional guides, allowing for straightforward setup and reprogramming, essential when resolving any initial kinks you might face. Ensuring that the new universal remotes work harmoniously with your garage door opener system is crucial, as it prevents future operational disruptions and provides a reliable, long-term solution.
If confusion arises, reaching out to a professional service like A1 Garage Doors Gold Coast ensures you not only find but also install the perfect remotes effectively. They provide insights into advanced remote troubleshooting, helping decode complex interaction problems between remotes and the system, ensuring the revamped setup operates without a hitch. Investing time in selecting the right remote increases your garage’s operational reliability and saves time and resources in the long run.
| Evaluation Factors | Signs to Replace | Choosing a Replacement | Features to Consider | Benefits of Upgrade |
|---|---|---|---|---|
| Performance Issues | Unresponsive Buttons | Compatibility with Models | Range Capabilities | Improved Functionality |
| Age of Remote | Frequent Malfunctions | Ease of Programming | Durability | Enhanced Security |
| Battery Life | Reduced Range | Reputation of Manufacturer | Extra Features (e.g., backlight) | Energy Efficiency |
| Technology Upgrades | Physical Damage | Cost-Effectiveness | Number of Devices Controlled | User Convenience |
FAQs
Why is my garage door not responding to remote?
The issue could be due to various reasons including dead batteries in the remote, interference from nearby electronic devices, or the remote being out of range. Additionally, a malfunction in the garage door opener could also be a factor.
How do you reset a garage door opener remote?
To reset your garage door opener remote:
1. Locate the "Learn" or "Smart" button on your opener.
2. Press and hold it until the indicator light turns off.
3. Press the button on your remote control to reprogram it.
Why is my garage door opener not working but the wall button is?
This may indicate an issue with the remote control, such as dead batteries, signal interference, or needing to be reprogrammed. It’s not related to the power supply when the wall button is functioning correctly.
Why is my remote not working even with new batteries?
New batteries might not solve the issue if the remote is not synced correctly with the garage door opener, or if there’s a more significant fault with the remote, such as internal damage or circuit board failure.
How do I resync my garage door remote?
To resync your remote:
1. Press and release the “Learn” button on the opener.
2. Within 30 seconds, press and hold the button on your remote.
3. The opener lights will blink to confirm the synchronization.
Will unplugging a garage door opener reset it?
Unplugging the garage door opener will not reset it, but it may resolve minor issues by power cycling the system. To fully reset, you’ll need to follow the manufacturer’s instructions for programming.
How to reset a garage door remote in Australia?
The process for reseting a garage door remote in Australia typically involves:
1. Locate and press the “Learn” button.
2. Hold your remote’s button within the programmed time.
3. Wait for the confirmation light or sound.
How do I reboot my remote?
Rebooting involves replacing the batteries and performing a synchronization step as guided by the manufacturer. If the issue persists, consulting a specialist may be necessary.
Do garage door openers need to be reset?
Yes, you might need to reset your garage door opener in scenarios like loss of synchronization with the remote or after a power interruption to ensure proper operation.
